
Photograph your subjects against a green screen or a solid color backdrop. Light the backdrop and make sure that your subject is far enough away so they don't cast shadows. (I have some shadows here which is why I have to edit out the backdrop in a few steps. If it's one solid color, it's much easier.)
Open your image in your photoediting program. It must be a program that supports layers.
Use the select tool (magic wand) and select the background. Hit cut or use the eraser tool and erase this area.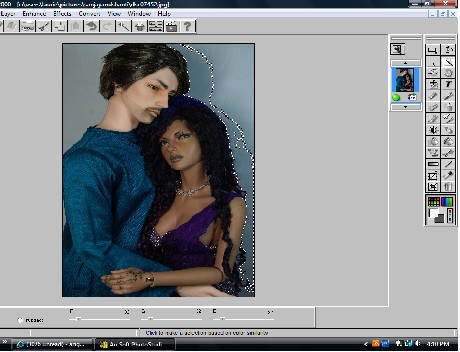

Do this for the whole background.

Go under "File" and "Open" the desired background. (I suggest that you resize the background first because these were made for human photography, and people are much larger than dolls.) After you've opened the background, copy it, and paste on the same page that you are working on with the photo of your dolls.
See the layers on the right side of my screen? When you paste it in, the background will be at the top. Drag it behind your image by mousing over it and dragging it beneath the dolls. As you can see I have a little bit of erasing here that I need to do (the speckles on the right of the couple.)
 Here's a final image in front of an Arabian backdrop.
That's terrific. Maybe now I'll get brave and give it a try.
ReplyDelete